저번편 Workers Lambda비교에서 workers에 대한 간단한 소개와 비교를 해보았습니다. 이번에는 wrangler를 이용하여 workers를 만들어보겠습니다.
wrangler 설치
wrangler는 aws cli처럼 workers를 cli로 관리할 수 있게 해주는 도구입니다. 서버리스의 경우에 플랫폼에서 GUI를 활용해서 관리를 할 수 있지만, cli를 활용하면 더욱 효율적으로 관리할 수 있습니다.
wrangler는 npm과 node.js가 설치되어 있어야 합니다. 설치가 되어있지 않다면 먼저 설치해주세요.
설치
1
2
3
4
#설치
npm install wrangler --save-dev
#업데이트
npm install wrangler@latest만약 설치가 제대로 안되면
npx wrangler로 최신버전을 설치해주세요.버전 확인
1
2
3
4
5
6
npx wrangler -v
#Need to install the following packages:
#wrangler@3.52.0
#Ok to proceed? (y) y
#⛅️ wrangler 3.52.0
#-------------------
프로젝트 생성
wrangler init이 곧 없어지게 될 예정입니다. 그래서 init이나 generate를 사용하시는 분들은 create로 대체해주세요.
프로젝트 생성
1
npm create cloudflare@latest
선택
- 프로젝트 이름을 입력해주세요. (미입력시 자동 생성)
"Hello World"Worker 선택(기본 프로젝트)TypeScript“no” 선택deploy“no” 선택 (나중에 배포 예정)
완료
정상적으로 생성이 되면 아래와 같은 메시지가 나옵니다.
1
2
3
4
5
6
7
8
9
├ APPLICATION CREATED Deploy your application with npm run deploy
│
│ Navigate to the new directory cd shrill-frost-0434
│ Run the development server npm run start
│ Deploy your application npm run deploy
│ Read the documentation https://developers.cloudflare.com/workers
│ Stuck? Join us at https://discord.cloudflare.com
│
╰ See you again soon!
클라우드플레어 로그인
wrangler를 사용하기 위해서는 클라우드플레어에 로그인을 해야합니다.
1 | npx wrangler login |
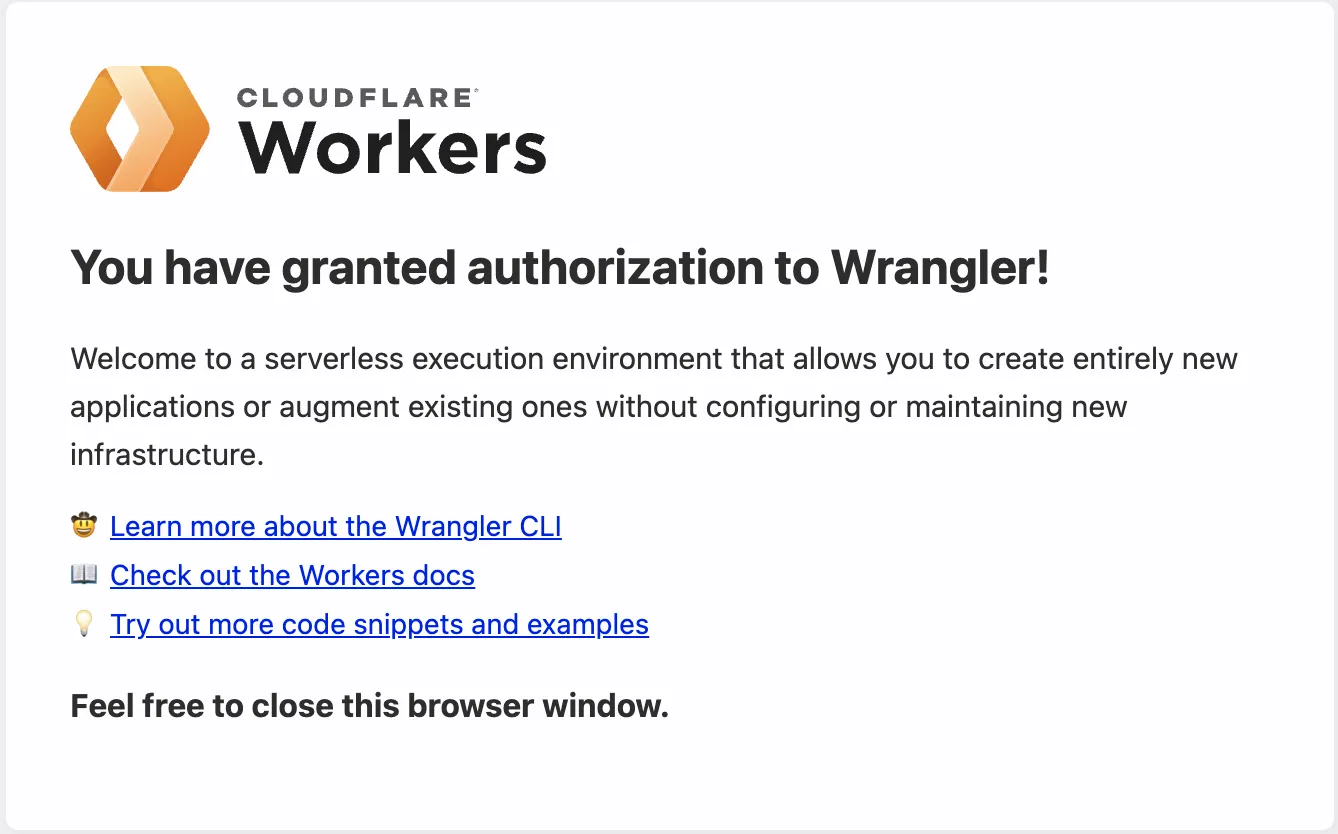
위 명령어를 입력하면 브라우저가 열리면서 로그인을 하라는 메시지가 나옵니다. 로그인을 하면 아래와 같은 화면이 나옵니다.
현재 로그인 아이디를 확인하려면 아래와 같이 입력해주세요.
1 | npx wrangler whoami |
로그인 계정 정보와 권한이 나옵니다.
1 | $ npx wrangler whoami |
프로젝트 실행
코드를 로컬에서 실행해보겠습니다.
1 | npx wrangler dev |
실행이 되면 아래와 같은 메시지가 나옵니다.
1 | /shrill-frost-0434$ npx wrangler dev |
http://localhost:8787로 접속하면 Hello World!가 나옵니다. 위의 실행 창에는 request가 찍히게 됩니다.
1 | $ curl http://localhost:8787 |
코드 수정
src/index.js파일을 수정하면 로컬에서 바로 확인이 가능합니다. hot reload가 되어있어서 수정하면 재시작 없이 바로 로컬 서버에 반영이 됩니다.
cf에 대한 정보를 콘솔에 찍어보겠습니다. cf는 클라우드플레어의 request에 대한 정보를 담고 있습니다.
1 | async fetch(request, env, ctx) { |
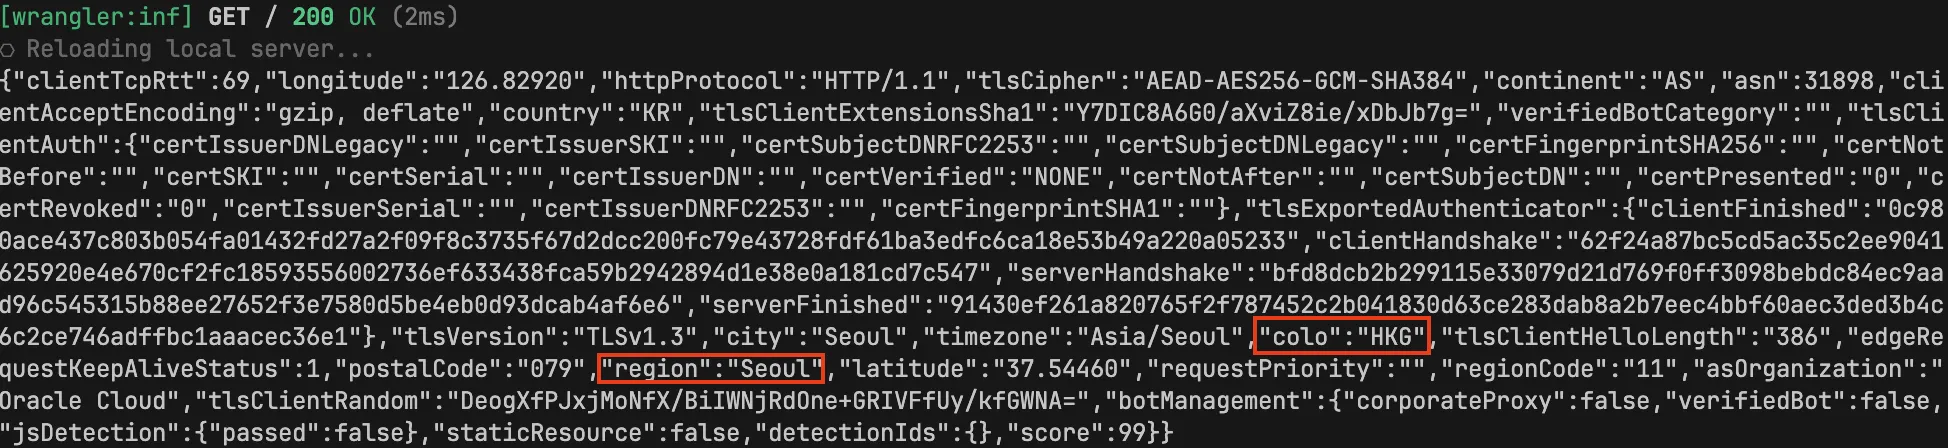
region:Seoul, colo: HKG인걸로 보아 Seoul에서 발생한 request가 HongKong에 있는 Edge서버를 통해 처리되었음을 알 수 있습니다.
늘 말씀드리지만 국내에서 cloudflare를 사용하면 트래픽이 돌아서 처리되기 때문에 latency가 발생할 수 있습니다. 속도 비교는 이것을 참고해주세요.
프로젝트 배포
프로젝트 배포는 wrangler.toml파일에 설정된 대로 배포가 됩니다. wrangler.toml파일은 아래와 같이 설정이 되어있습니다. 추후에 다른 서비스를 사용하려면 여기에 설정을 추가해주시면 됩니다.
1 | #:schema node_modules/wrangler/config-schema.json |
compatibility 관련 설명은 여기에서 확인할 수 있습니다.
1 | npx wrangler deploy |
배포 주소가 나오면 성공적으로 배포가 된 것입니다. 주소의 형식은 https://<name>.<계정이름>.workers.dev입니다.
마무리
이번에는 wrangler를 이용하여 workers를 배포하는 방법을 알아보았습니다. 다음에는 cron을 활용하는 workers를 만들어보겠습니다.