Jenkins 설치하기
공식 image에 가보면 docker에 Jenkins를 설치하는 방법이 나와 있습니다. 하지만 저는 docker-compose를 사용해서 설치하겠습니다.
저는 nginx를 사용해서 접속 관리를 하기 때문에 8080을 expose로 노출시키지 않았습니다.
1 | #docker-compose.yml |
docker-compose.yml 파일을 만들고 docker-compose up -d jenkins로 실행하면 Jenkins가 설치됩니다.
추가 보안 설정
Jenkins에는 중요한 정보가 많이 들어가 있기 때문에 추가 보안 설정을 했습니다. nginx를 활용해 특정 ip에서만 접속할 수 있도록 설정했습니다.
1 | #(nginx)app.conf |
vpn을 끄고 접속하면 다음과 같이 접근이 불가능합니다.
정상적으로 설치가 됐다면 다음과 같은 화면이 나옵니다.
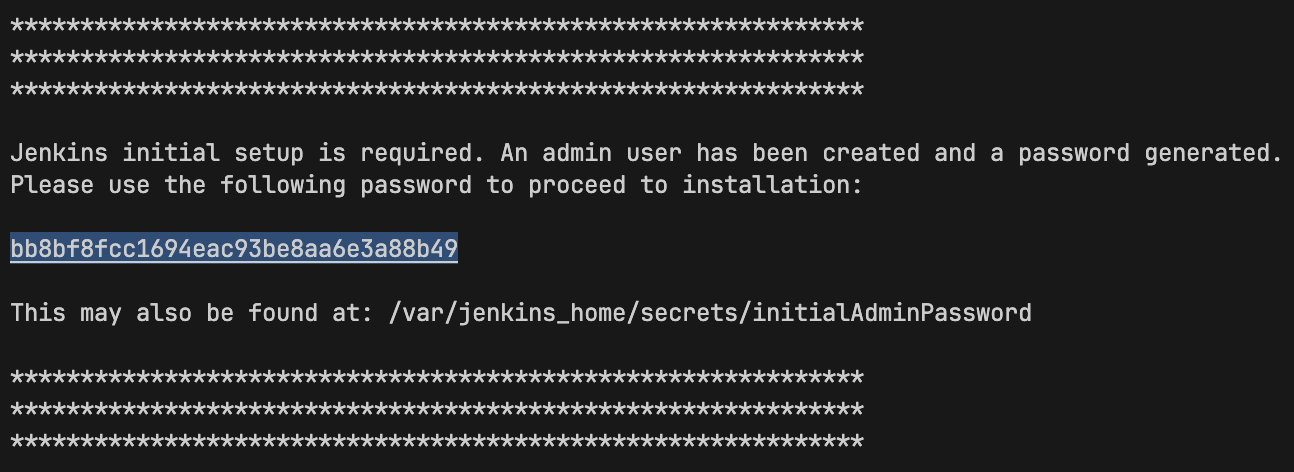
젠킨스 로그를 확인하면 초기 비밀번호를 확인 가능합니다.
그 다음에 추천해주는 플러그인을 설치 합니다.
어드민 계정도 설정해 주고
접속 가능한 url도 알려주면
이제 젠킨스를 사용할 수 있습니다.
jenkins 설정
플러그인 설치
Manage Jenkins -> Plugins -> Available plugins에서 플러그인을 설치할 수 있습니다. 플러그인 설치 후 재시작합니다.
publish over sshGeneric Webhook Trigger Plugin
publish over ssh 설정
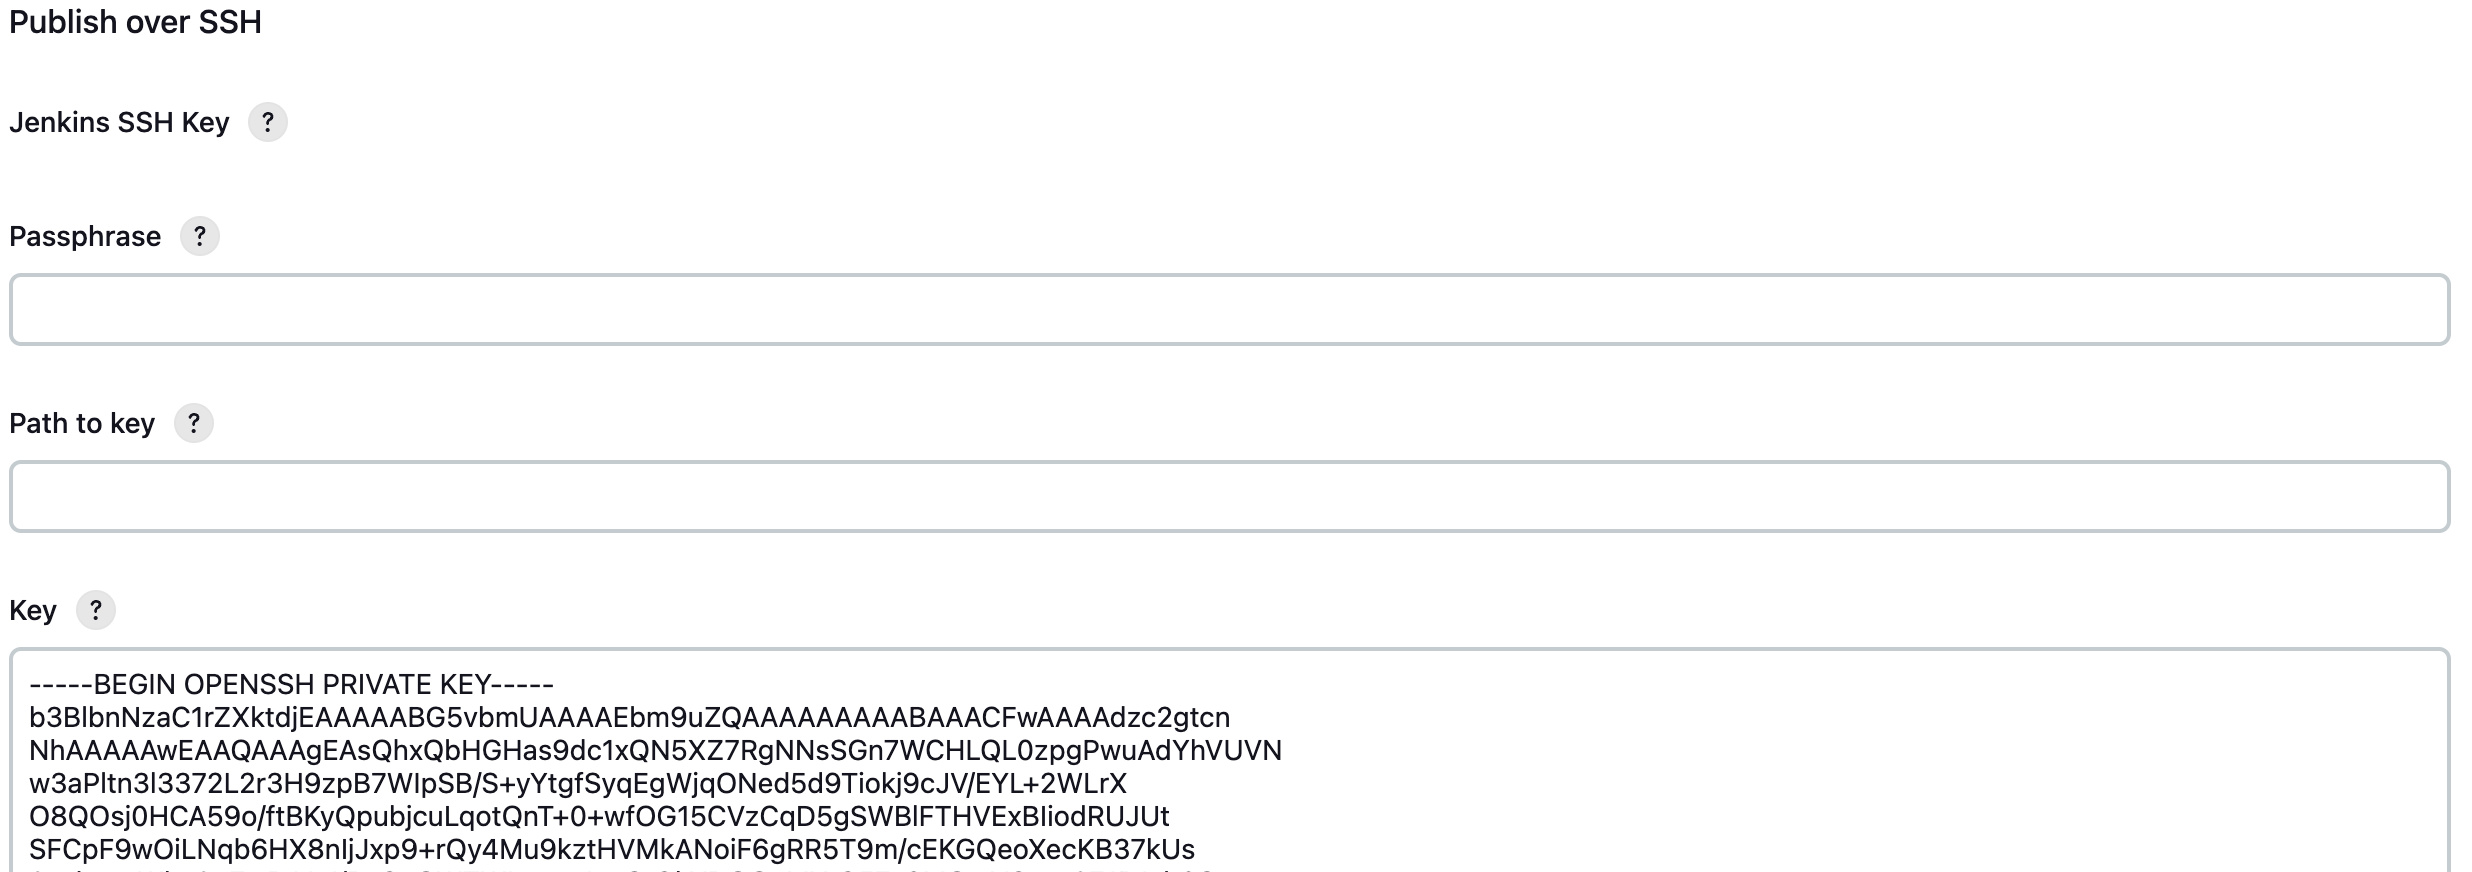
Manage Jenkins -> Configure System -> Publish over SSH에서 설정합니다.

1 | # ssh key 생성 |
id_rsa내용을 복사해서 Key에 붙여넣기 합니다.

원격지 서버에서 ~/.ssh/authorized_keys에 id_rsa.pub내용을 붙여넣기 합니다.
1 | echo "id_rsa.pub 내용" >> ~/.ssh/authorized_keys |
Test Configuration을 눌러서 연결이 잘 되는지 확인합니다.
github 권한 설정
Manage Jenkins -> Credentials -> System -> Global credentials -> Add Credentials에서 github 계정을 추가합니다.
다음과 같은 창이 나올 것 입니다.
Github에서 Settings -> Developer settings -> Personal access tokens -> Tokens (classic) -> Generate new token을 해줍니다.

Build하기
이제 기본적인 설정을 마쳤습니다. 이제 New Item을 눌러서 새로운 작업을 만들어 봅니다.
pipeline을 선택하고 이름을 설정합니다.
do not allow concurrent builds를 선택하고 github project에 github 주소를 입력합니다.
Build Triggers에서 GitHub hook trigger for GITScm polling을 선택합니다.
Github에서 Settings -> Webhooks -> Add webhook을 눌러서 webhook을 추가합니다.
Pipeline에서 Pipeline script from SCM을 선택하고 Repository URL을 입력합니다. Credentials에서 아까 추가한 github 계정을 선택합니다.

이제 실행할 Jenkinsfile을 repository루트에 만들어 줍니다.
1 | pipeline { |
확인하기
이제 모든게 끝났습니다. github에 push를 하면 자동으로 빌드가 되는 것을 확인할 수 있고, 아니면 Build Now를 눌러서 빌드를 수동으로 할 수 있습니다.
마치며
글의 호흡이 길어져 먼저 CI과정 까지만 알아보았습니다. 다음 글에서는 CD과정까지 이어서 해보겠습니다.